
There’s something magical about gathering around a crackling fire under the stars. Whether you’re roasting marshmallows, sharing stories, or simply enjoying the warmth, a backyard fire pit can transform your outdoor space into a cozy retreat. The best part? You don’t need to hire a professional to create one—building a fire pit is a rewarding DIY project that’s easier than you might think. Over the years, I’ve built a few fire pits in my own yard, and I’m excited to share my step-by-step guide to help you create your own. Let’s get started!
Step 1: Check Local Regulations
Before you start digging, it’s crucial to check your local building codes and regulations. Some areas have restrictions on open fires, require permits, or specify how far a fire pit must be from structures, fences, and property lines. Ignoring these rules could result in fines—or worse, safety hazards.
Pro Tip: Call your local fire department or municipal office to confirm the guidelines in your area. They may also provide helpful tips for safe fire pit construction.
Step 2: Choose the Right Location
Selecting the perfect spot for your fire pit is key to both safety and enjoyment. Here’s what to consider:
- Distance from Structures: Keep the fire pit at least 10–20 feet away from your house, shed, trees, or any flammable materials.
- Wind Direction: Avoid placing the fire pit in an area where smoke will blow directly toward seating or your home.
- Surface Type: Opt for a flat, open area with non-flammable ground cover like gravel, sand, or bare earth. Avoid grassy or wooden surfaces.
I chose a corner of my yard surrounded by stone pavers—it’s both safe and convenient for gatherings.
Step 3: Gather Your Materials and Tools
The materials you’ll need depend on the type of fire pit you want to build. Here’s a basic list for a simple, above-ground fire pit:
- Fire-Resistant Stones or Bricks: These will form the walls of your fire pit.
- Gravel or Lava Rocks: For drainage and heat resistance at the base.
- Shovel and Tamper: To dig and level the ground.
- Metal Fire Ring (Optional): Adds durability and prevents stones from shifting.
- Safety Gear: Gloves, goggles, and sturdy boots for protection during construction.
For tools, a tape measure, level, and rubber mallet are handy to ensure everything is aligned properly.
Step 4: Mark and Excavate the Area
Once you’ve chosen the location, mark the outline of your fire pit using spray paint, stakes, or a garden hose. Most fire pits are circular, but you can opt for a square or rectangular design if you prefer.
Next, dig a shallow hole about 6–12 inches deep within the marked area. This will serve as the foundation for your fire pit. Use a tamper to compact the soil at the bottom, ensuring it’s level and stable.
Why It Matters: A solid base prevents shifting and ensures your fire pit remains safe and functional over time.
Step 5: Add a Gravel Base
Fill the excavated area with a layer of coarse gravel or crushed stone, about 4–6 inches thick. This provides drainage and helps distribute heat evenly. Rake the gravel smooth and tamp it down firmly.
If you’re using a metal fire ring, place it in the center of the hole now. This will act as a guide for arranging your stones or bricks.
Step 6: Build the Walls
Start stacking your fire-resistant stones or bricks around the perimeter of the fire pit. Stagger the joints (like bricks in a wall) for added stability. Aim for two or three layers, depending on how tall you want the pit to be.
Pro Tip: Use a rubber mallet to gently tap the stones into place and ensure they’re snug against each other. If needed, apply a bit of mortar between layers for extra strength, especially in windy areas.
Step 7: Line the Bottom
Once the walls are complete, line the interior of the fire pit with a layer of lava rocks, gravel, or fire-rated bricks. This protects the base from intense heat and prolongs the life of your fire pit.
Step 8: Test and Enjoy
Before inviting friends and family over, test your fire pit with a small fire to ensure it functions properly. Use dry, seasoned wood to avoid excessive smoke. Keep a bucket of water, sand, or a fire extinguisher nearby for safety.
Safety Reminder: Never leave a fire unattended, and always fully extinguish it before heading indoors.
Optional Enhancements
Want to take your fire pit to the next level? Consider these upgrades:
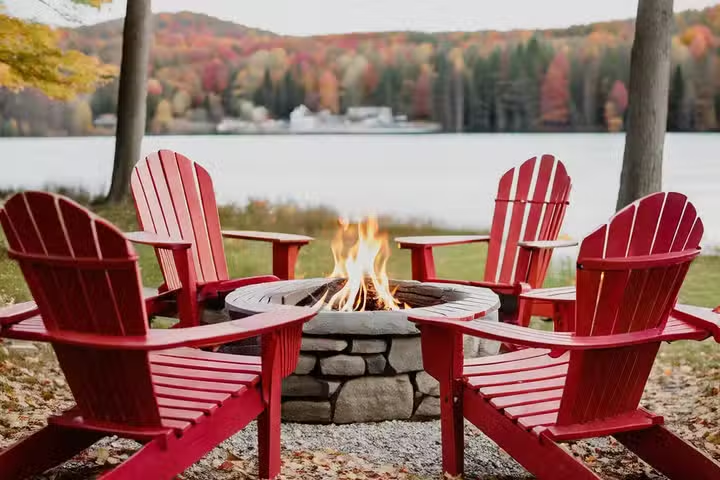
- Seating Area: Arrange chairs or benches around the fire pit for a cozy setup.
- Lighting: Add string lights or solar-powered lanterns to create ambiance.
- Decorative Stones: Surround the fire pit with decorative gravel or stepping stones for a polished look.
Building a backyard fire pit is a fantastic way to enhance your outdoor living space while creating lasting memories with loved ones. With careful planning, the right materials, and a little elbow grease, you can construct a fire pit that’s both functional and stylish. Plus, there’s nothing quite like the satisfaction of sitting around a fire you built yourself.
So roll up your sleeves, grab your tools, and get ready to enjoy countless nights of warmth, laughter, and relaxation. Your backyard oasis awaits!